The Worth of a Challenge


If you give a child a fish, you feed him for a day.
If you teach a child to fish, you feed him for a lifetime.
But if you teach a child to learn, you feed him for a lifetime
and he doesn't have to just eat fish.

Wednesday, March 9, 2011

I like to look for rainbows.....


This year for Sunday school/primary, one of the songs the kids are learning to sing is called "When I Am Baptized". The song is as follows:

I like to look for rainbows when ever there is rain


and ponder on the beauty of an earth made clean again.

CHORUS:
I want my life to be as clean as Earth right after rain
I want to be the best I can,
and live with God again.

I know when I am baptized my wrongs are washed away,
and I can be forgiven and improve myself each day.

CHORUS


I love the sentiment of the rainbow and how just like it was God's promise to Noah, it can be a promise unto us that if we can be clean and good "like earth right after rain" that we can live with God again. 


With this song in my heart I decided to make this the theme of today's learning.

I got a wonderful flip chart from sugardoodle. I used the one by Jolly Jen, but both of them work and both are filled with beautiful pictures to help your child learn the song.

We will sing along with this wonderful version I found on youtube:


We will read two books about rainbows:


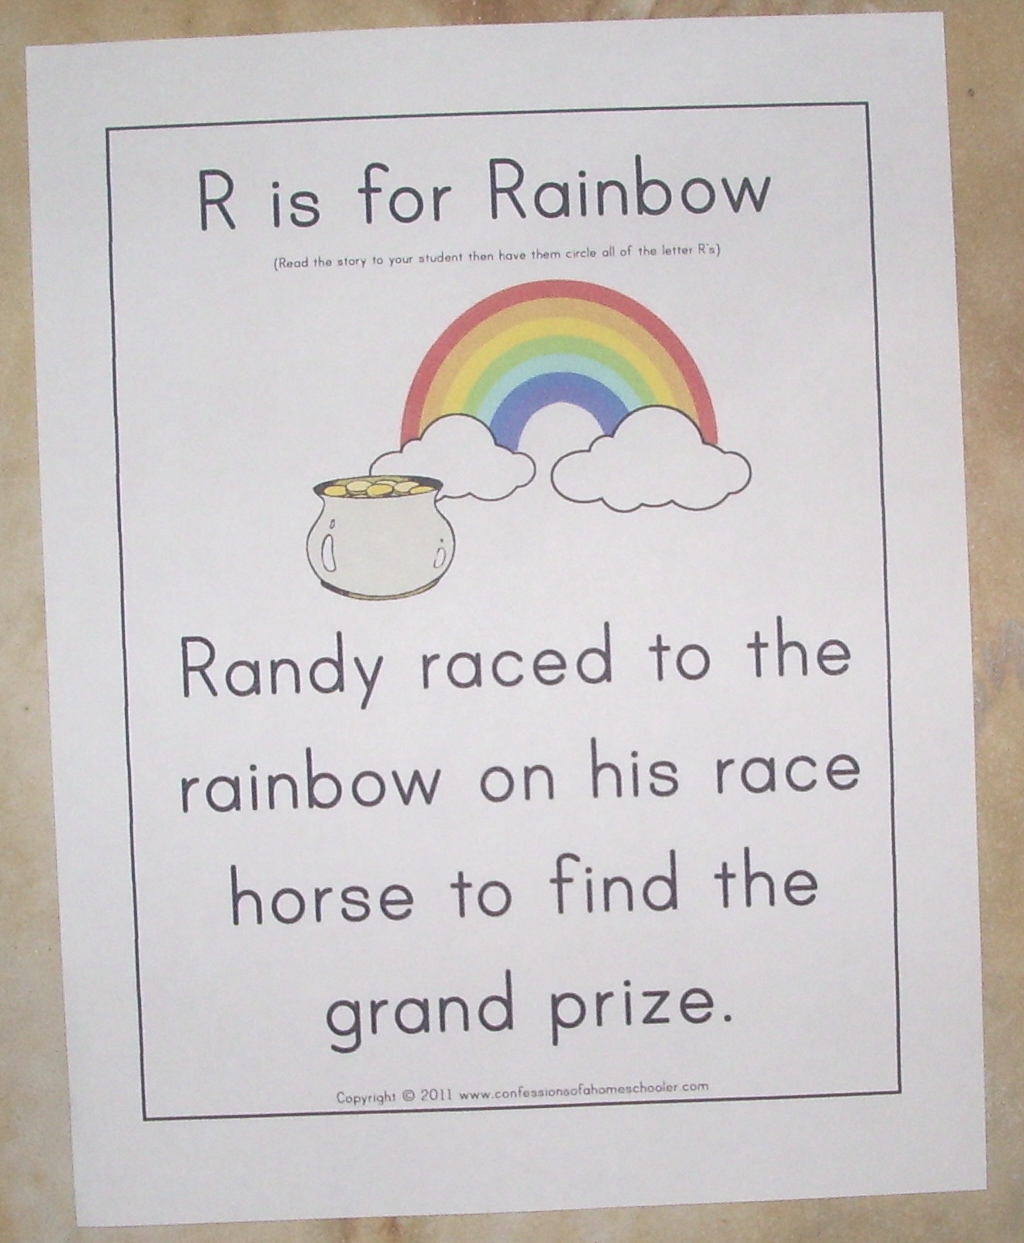
We will hunt for letter Rr's *

We will sort upper and lower case Rr's*

We will line up the rainbows largest to smallest, smallest to largest and learn 1st, 2nd, 3rd, etc.*

We will learn how to spell the word rainbow*

We will color the number 24 Car from Nascar which is traditionally in a rainbow theme.

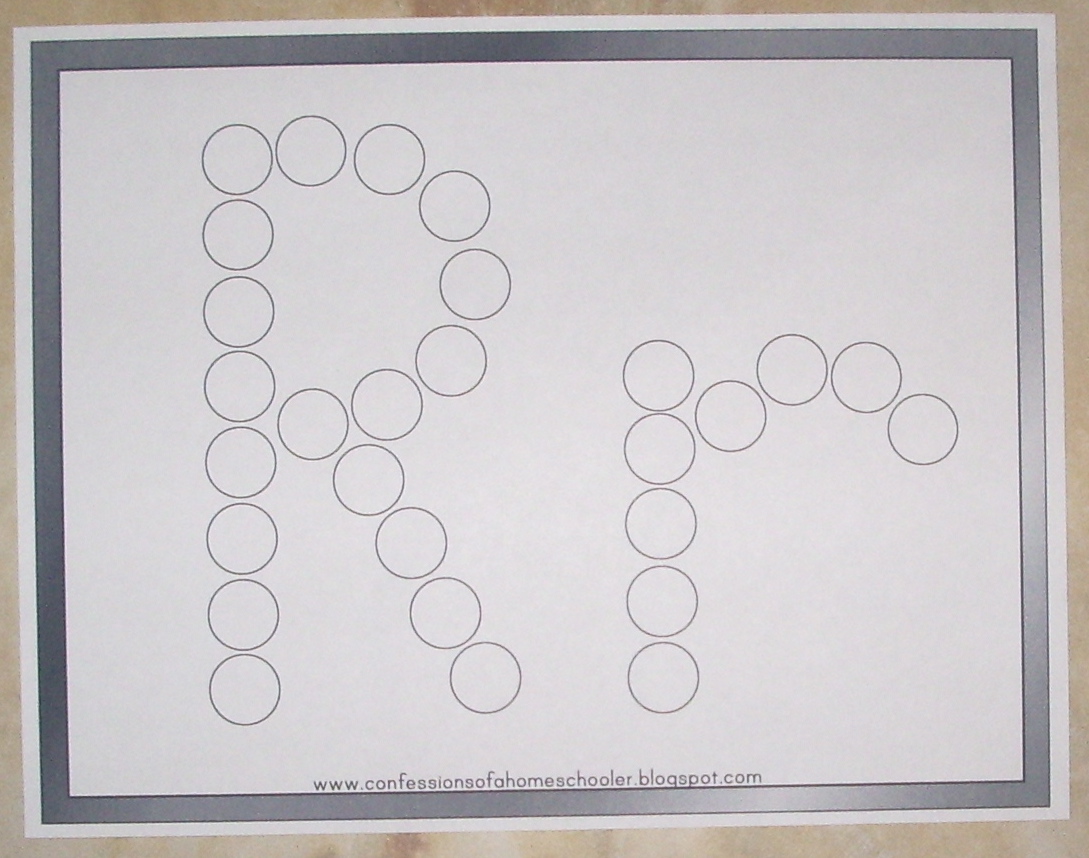
We will do-a-dot the letter R*

We will also graph rainbows*


We will also have centers set up so they can find how many different ways they can make rainbows using different materials.

  • little vehicle counters
  • buttons
  • bottle caps
  • play food like ice cream and the felt fruits and veggies
  • beads
  • legos
  • linking cubes


We will also have this lesson on preparing to be baptized. I don't do a lot of "theme" lesson days, but this one left an impression on me that we should do this lesson at this time.


*All of these activities can be found at confessions of a homeschooler

Tuesday, March 8, 2011

What's in the book bin this month?

March Book Bin: This month I chose books about spring time, bugs and animals and other creatures. I kept some standbys that my kids love like Chicka Chicka Boom Boom, The Gummy Counting Book and the lovable story Who will be my friend.
What are your kids reading this month?

Home Economics: Bread(white)


You don't have to be a pimple faced teen in junior high(or high school) to learn skills that will help you in at home. We made this awesome bread that took just a few ingredients and and a few steps and was delicious. I got my recipe from the February 2010 issue of Martha Stewart Living. Thank you Martha, this bread is so easy and yummy and my kids get wonderful knowledge and experience from helping me make it.


The recipe:


  • 1 tablespoon plus 1 1/2 teaspoons active dry yeast (two 1/4-ounce envelopes)
  • 2 1/4 cups warm water (110 degrees)
  • 3 tablespoons plus 2 teaspoons honey
  • 4 tablespoons unsalted butter, melted, plus more for bowl, pans, and brushing
  • 7 cups all-purpose flour, plus more for surface and dusting
  • 4 teaspoons coarse salt

Step 1

Sprinkle yeast over 1/2 cup water. Add 2 teaspoons honey. Whisk until yeast dissolves. Let stand until foamy, about 5 minutes.

Step 2

Transfer to the bowl of a mixer fitted with the paddle or dough-hook attachment. Add butter and remaining 1 3/4 cups water and 3 tablespoons honey. Whisk flour with salt; add 3 cups to yeast. Mix on low speed until smooth.

Step 3

Add remaining 4 cups flour, 1 cup at a time, mixing until dough comes away from sides of bowl and forms a ragged, slightly sticky ball. Butter a large bowl

Step 4

Knead dough on a floured surface until smooth and elastic but still slightly tacky, about 5 minutes.

Step 5

Shape into a ball.

Step 6

Transfer to prepared bowl; cover with plastic wrap.

Step 7

Let dough stand in a warm place until it doubles in volume (it should not spring back when pressed), about 1 hour.


Step 8

Butter two 4 1/2-by-8 1/2-inch loaf pans. Punch down dough.

Step 9

Divide in half.

Step 10

Shape 1 dough half into an 8 1/2-inch-long rectangle (about 1/2 inch thick). Fold long sides of dough in to middle, overlapping slightly. Press seam to seal. Transfer dough, seam side down, to pan. Repeat with remaining dough.
* I run a knife down the middle of mine and drizzle honey on the slit 

Step 11

Brush each loaf with butter, or dust with flour for a rustic look.

Step 12

Preheat oven to 450 degrees. Drape loaves with plastic. Let stand until dough rises about 1 inch above tops of pans, 45 minutes to 1 hour. Reduce oven temperature to 400 degrees. Bake, rotating pans after 20 minutes, until tops are golden brown, about 45 minutes. Transfer to wire racks. Let cool slightly; turn out loaves. Let cool completely before slicing.


Things to do with the bread:
  • make toast
  • make french toast
  • cut thin and use to make sandwiches
  • use to make bread pudding
  • eat warm with butter and honey
  • share a loaf with others


Saturday, March 5, 2011

The Ugly Duckling- A literature Lesson

For literature we read the story of The Ugly Duckling by Hans Christian Anderson. This story is very dear to me and am so glad my children loved it too. I love how my kids understood that everyone needs love and that everyone is special.


We read the story together(I found some really neat printable visual aids here)
After the story we did a story map, drawing pictures of what happened at the beginning, middle and end.

We learned about grammer. I chopped up some sentences and then had the children put the words into the right order with the sentence starting with a capital letter and ending with a period.

We made a "literature word wall". We picked words from the story and put them on to a folder. And then practiced writing them. We will continue to add new words with each story we read.

Other activities we did:
  • play duck, duck goose
  • sing the song "six little ducks"
  • we talked about feelings and about how it isn't ok to tease others.

Friday, March 4, 2011

Math Centers Made Simple

Something I learned about my children (and really this is true about other kids in this age group), is that they do not like sitting idle and to be truthful they just don't like being told to sit still in general.  With that in mind, it can be challenging to get through those math facts or learning concepts.
      
      I knew that my kids needed a)motivation b)room for wiggle. I create short fun centers that will keep their attention and then I give them time and space to do them and not always at their desk.

       Before we take off and see the centers, I just want to say a few words about supplies and manipulatives. I think a lot of people(and I have been guilty of this too) sometimes fall under the impression that children need lots of pricey manipulatives from the teacher store or from online stores to learn and that is just not true. Several years ago, I came into possession of a book called Treasure Boxes by Jaine Kopp(Feb 2002) and in the book it really does a great job of helping make math and science "treasures" from ordinary objects. She talks about how to make the collections and some wonderful ways to use them. Her point was that you can collect just about anything and make a collection and use it for learning. Some of her ideas were cancelled stamps, rocks, bread ties, milk caps, bottle caps, shells, and buttons. Can you imagine how fun it would be to see even the smallest of children collect up these treasures and then begin learning early math by showing different ways to sort and express the collection? So anytime you see someone using pricey items for math that are outside your budget, just see the vision of using these little treasures instead.

Now onto the centers.....

Snowman math: this one is really simple and the printable comes from Making Learning Fun. Just fill the boxes and put the right hat on. Then write the math sentence.

Patterns: I am using my printables that came with my saxon math, but you can create your own patterns and then label them accordingly with AB AAB ABB  and AABB  and so on. I am using linking cubes, but you really can create this using your own materials. Are you thinking of using milk caps? Just color circles in a patterns that can be recreated using the materials you have on hand.

Make that number: I am using several printables from confessions of a homeschooler. I use the flip chart with the blocks on it to be the link and have the child create that number and find the matching "number symbol" not real complex, but good for those learning to recognize numbers and quantities as they relate


Pom Pom sorting: What kid doesn't love pom poms? I just dump them into a tray and use little tongs and tell my child to sort them into the right cup. Some questions you can ask are

  • What colors are left?
  • How many are left? 
  • How many in each cup?

To take it a step further you could have your child graph each category.


Ye old math worksheet....made more interesting: I give one color of cubes for the top number and another for the bottom and ask that they make the math sentence using the cubes. I have found the answers come very quickly and removes the feeling of "advanced counting" that can often be present in early addition.

Shapes: I am using printables from here and have the child pick a shape from the shape cards and make the puzzle. Simple as that and yet teaches some very basic and important concepts.

Shapes using geoboards: I just use those same shape cards and put out the geoboards and usually it goes like clockwork from there. I love this because it creates awareness of space that something takes up and is a precursor to learning other more advanced ideas. Don't have these boards? Don't worry, you can find them to print online or you could even just use some simple yarn on a paper grid to create this same concept(remember the concept is way more important than the stuff that gets them there)

Pattern Blocks: I am using a preprinted worksheet, but you can easily create this by laying out the shapes in advance and tracing the outer shape of the picture. The idea is for the child to fill the space and see that there can be more than one right answer. Then ask "how many shapes did you use?" You can take another step and have them graph the pieces they used in each picture. Don't have pattern blocks? You can also find ones online you can print onto colored cardstock that will hold up just fine for the center.

So the general idea is to have just a few pieces and a few concepts(or even just one) and let the child "uncover" the learning rather than having a time slot and trying to cover the curriculum. I also give some time to explore at each center as well. This explore time might sound like a waste, but really it is in this time, they are asking new questions and getting new ideas. Don't forget, while many might use a few tables and chairs for their centers, you can use a variety of areas and settings.

  •  set them up around a small table and have them progress around it. 
  •  use bean bag chairs and clip boards
  •  use carpet samples around the room to designate space 

Thursday, March 3, 2011

Sight Word Palooza!

So are you looking for some fresh ideas to get those new words into your kid's vocabulary? I've got some great ideas here for either little or no cost at all

The very first thing I did was take all the sight words and write them on craft sticks, I got a bag of 100 at Hobby Lobby for about $1. Once that is done you can do a lot of activities to learn the sight words.

1. You draw a stick and make the word using letter tiles. Don't have letter tiles? You can make your own by printing off letters in a large font onto cardstock and laminating them. Want something fancier? You can make some really cool letters here.
2. Sight Word Matching: as simple as that, print the words on flashcards and start making matches.
3. ABC Order: give your child an ABC chart and have them draw ten and put them in ABC order.
4. Sight Word Steps: I used laminated feet and wrote the sight words on them. Then, just read and step. If you make it to the end of the path and you get a prize. Don't have cool feet or want to "create" them? You can go here and they have a game like this in color and black and white ready to print and play.

Other activities we have done that aren't pictured here

This is really the tip of the iceberg of activities from just drawing words and writing them on paper or making sight word bingo, there are a lot of options to make learning these words fun for you child or classroom of kids. These activities can also be used as workboxes or centers.

Wednesday, March 2, 2011

Calendar Revisions

A very wonderful thing happened when we moved and scored this awesome new space. We got more wall space and I am loving it. It has allowed me to make a calendar "center" in place of our old calendar. Not that there was ever anything wrong with the old fold up, because it was wonderful especially when I had few other options. The revamp wasn't expensive either. The hanging pocket charts I had from when they were on sale at Target. The days of the week and the months of the year I printed from Kinder Printables. I laminated them and then use a dry erase marker to put the day on them. I have a traditional calendar on the door, but this center works great for learning:
  •  the days of the week
  • months of the year
  • sequence
  • language skills

We have a great time learning using this system and singing songs to help learn them.

Classification!

We have started a new unit, it's about classification. We are only in our second week and have completed some really fun activities.

We created a new bulletin board for our science theme. It will also serve as a place to display work and to also serve as a place to go to for finding information about the things we have learned.

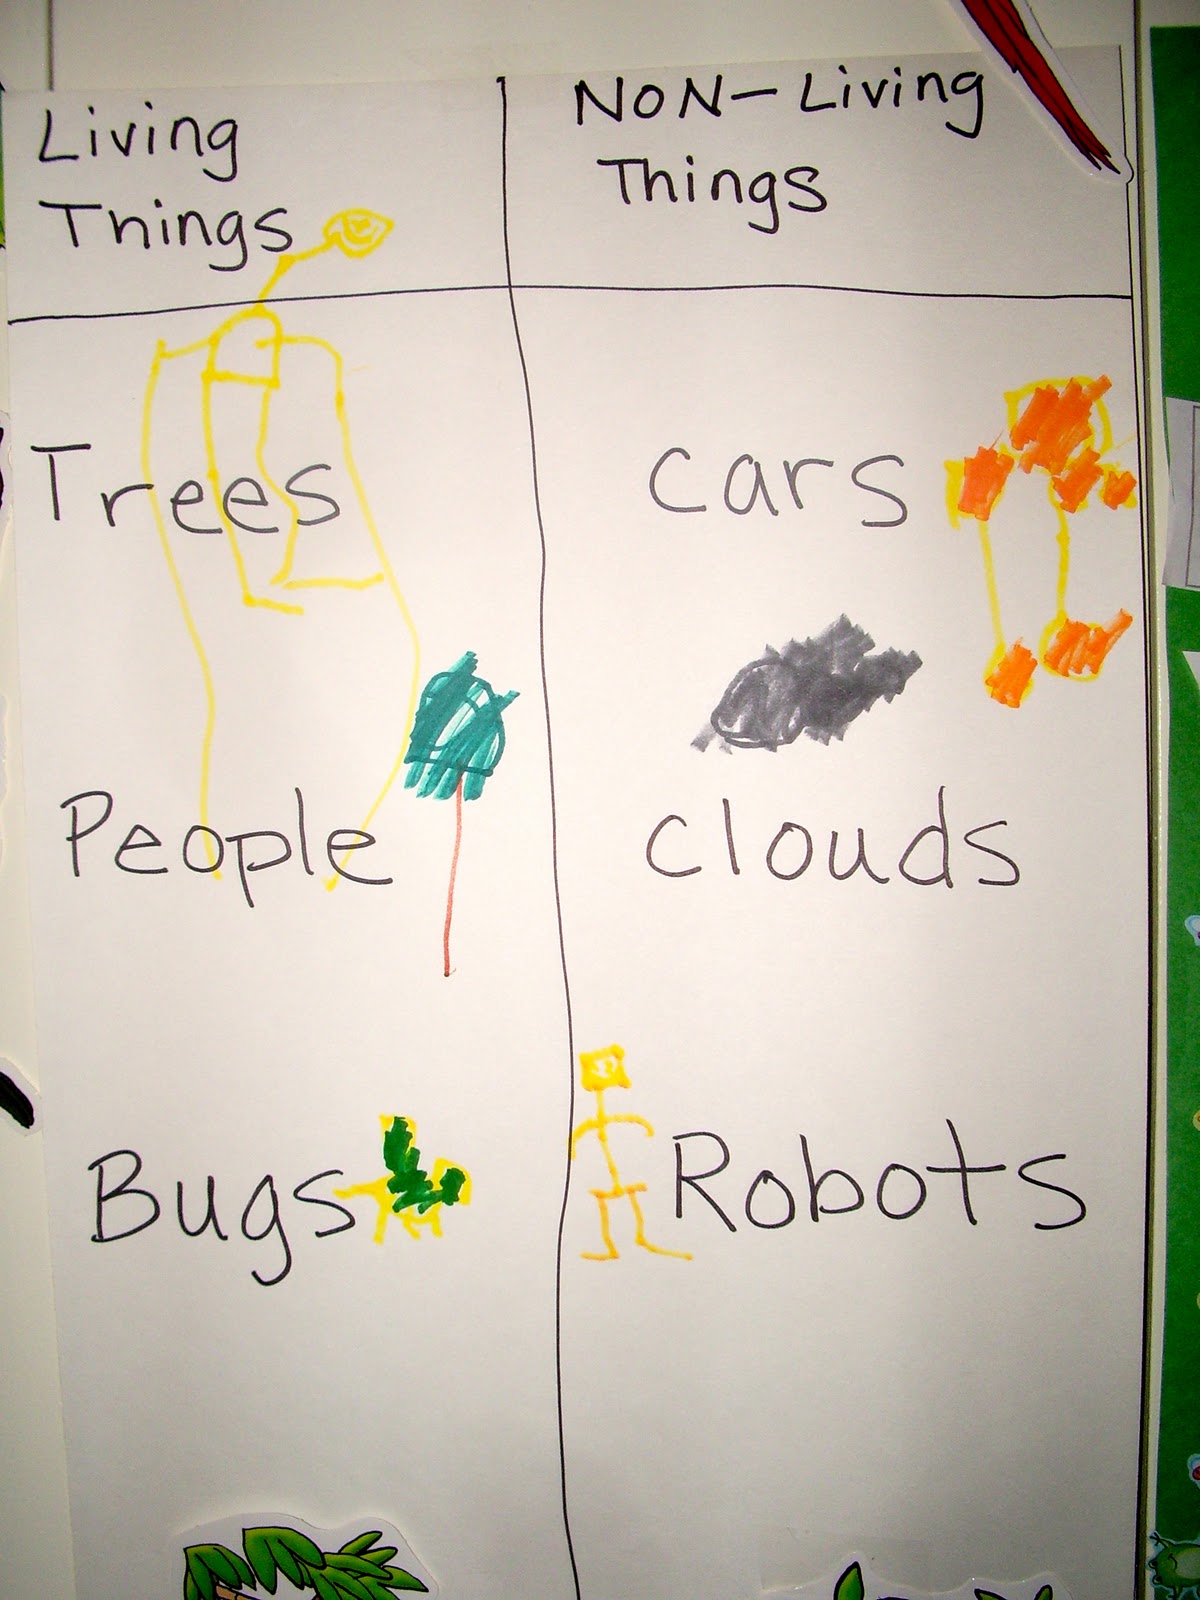
We discussed that there are living things and non living things and what makes something alive. It was amazing to hear what young children think we require to be alive. Ultimately we decided and confirmed with a nature walk, that you need food, have to grow and able to make babies to be alive.

Then we talked about how we also can classify the living things even more and broke down the living things into five kingdoms


 Today we divided even further, with classifying animals into vertibrates and invertibrates. We found our awesome cut and paste activity at super teacher worksheets and they have tons more if you want to follow along with us in this unit.